
Why You’ll Love This Recipe
- 2-Ingredient Simplicity : All you need is milk and vinegar—no rennet or special cultures required.
- Quick & Easy : Ready in under 30 minutes, with minimal hands-on effort.
- Customizable : Add herbs, spices, or salt to create unique flavor profiles.
- Healthier Option : No preservatives or additives—just pure, fresh cheese.
- Versatile : Use it as a spread, in salads, on sandwiches, or as a base for recipes like ricotta or paneer.
Ingredients You’ll Need
Makes about 1 cup of cheese
- 4 cups whole milk (or 2% milk for a lighter version)
- 2–3 tbsp white vinegar (or lemon juice for a citrusy twist)
- 1/2 tsp salt (optional, for flavor)
- Optional Mix-Ins : Fresh herbs, garlic powder, cracked black pepper, or honey
Step-by-Step Instructions
Step 1: Heat the Milk
- Pour the milk into a medium saucepan and heat over medium-low heat, stirring occasionally to prevent scorching.
- Heat the milk until it reaches 180°F (82°C) , or until small bubbles form around the edges and steam begins to rise. Do not boil.
Step 2: Add the Vinegar
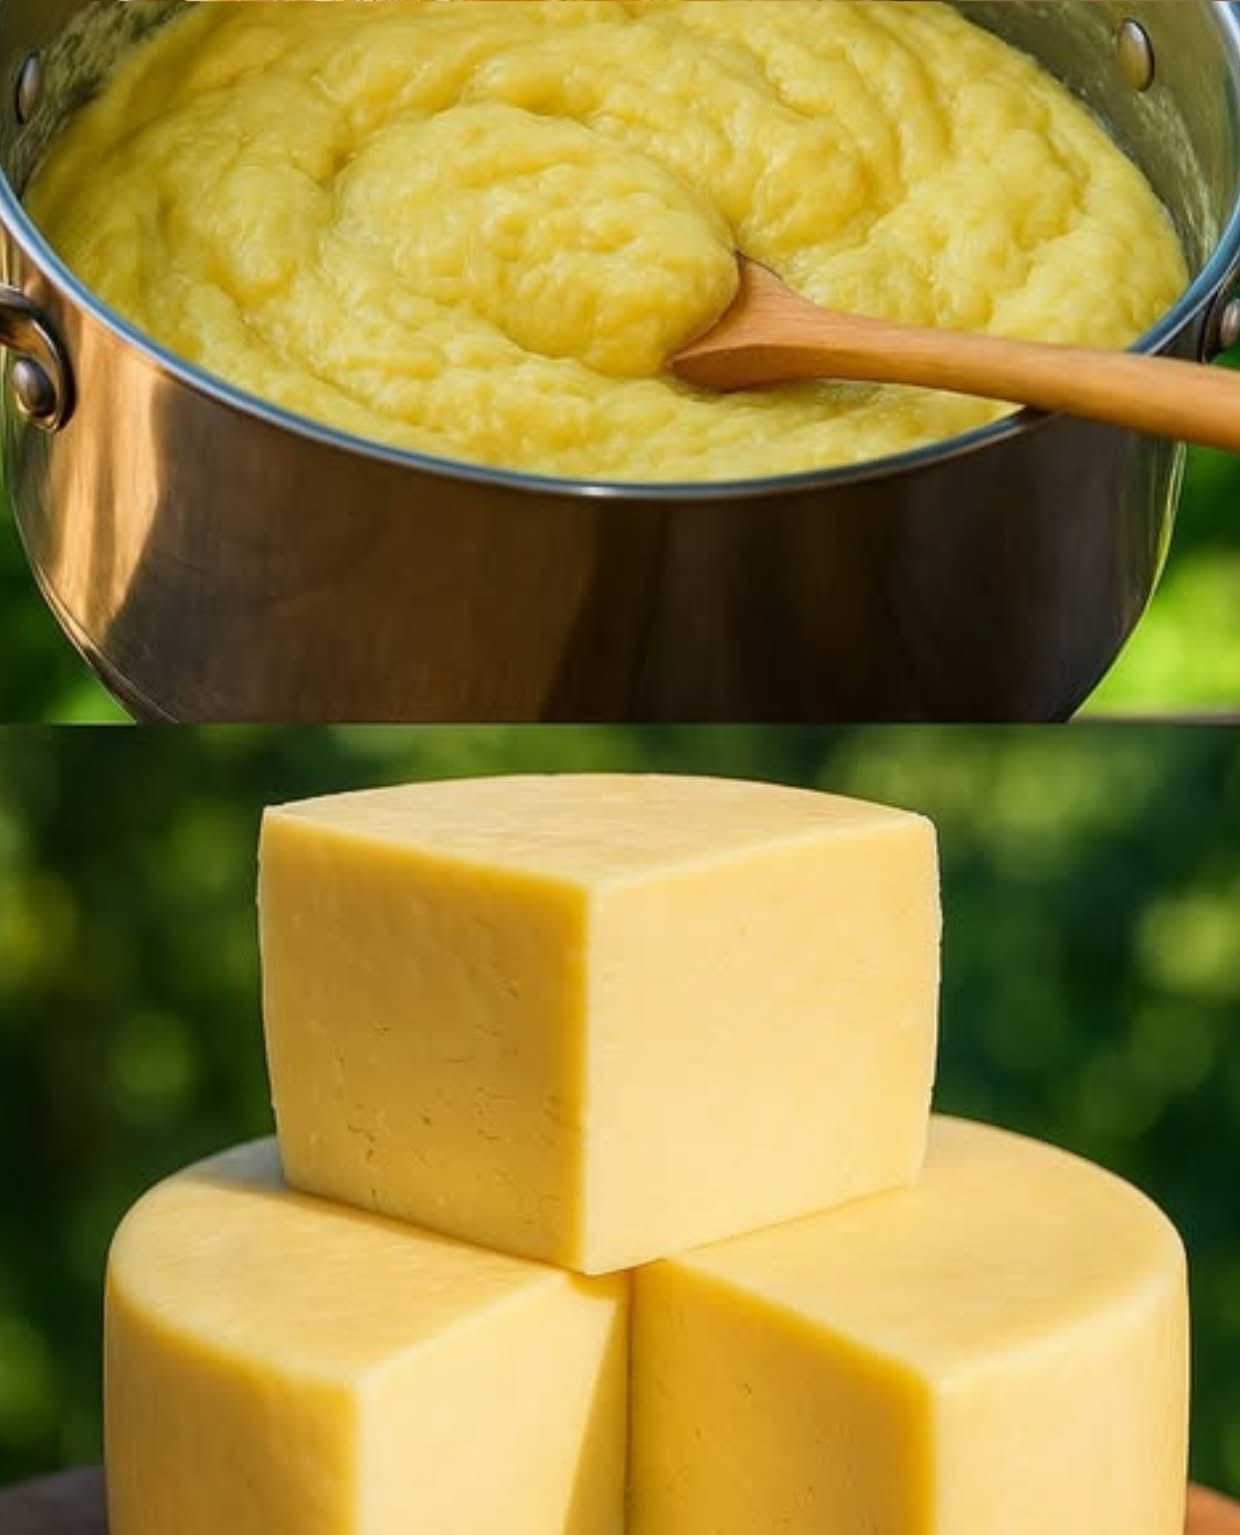
- Remove the saucepan from the heat and slowly stir in the vinegar (or lemon juice). Stir gently for about 30 seconds—you’ll see the milk begin to curdle and separate into curds (solid) and whey (liquid).
Step 3: Strain the Curds
- Line a colander with cheesecloth or a clean kitchen towel and place it over a bowl to catch the whey.
- Carefully pour the curdled milk into the colander, allowing the whey to drain away. Let the curds sit for 5–10 minutes , depending on how dry you want your cheese to be.
Step 4: Season and Shape
- Transfer the curds to a bowl and sprinkle with salt (if using). Mix gently to combine.
- For soft cheese (like ricotta), press lightly to remove excess moisture. For firmer cheese (like paneer), gather the curds in the cheesecloth, twist the cloth tightly, and press under a heavy object (like a cast-iron skillet) for 15–30 minutes .
Step 5: Enjoy!
- Use your homemade cheese immediately or store it in an airtight container in the fridge for up to 3–5 days.
Why This Recipe Works
- Acid Coagulation : The vinegar (or lemon juice) causes the proteins in the milk to coagulate, separating the curds from the whey.
- Custom Texture : Adjust draining time to achieve soft, spreadable cheese or firmer blocks for cooking.
- Simple Ingredients : Whole milk provides creaminess, while vinegar adds tanginess without overpowering the flavor.
Variations to Try
- Herbed Cheese : Stir in chopped fresh herbs like dill, chives, or parsley for a savory twist.
- Spiced Delight : Add garlic powder, red pepper flakes, or smoked paprika for extra flavor.
- Sweet Treat : Mix in honey, cinnamon, or vanilla extract for a dessert-worthy cheese.
- Gluten-Free Option : Naturally gluten-free—no substitutions needed!
- Vegan Version : Use plant-based milk (like almond or soy) and apple cider vinegar for a dairy-free alternative.
Tips for Success
- Use Fresh Milk : Avoid ultra-pasteurized milk, as it may not curdle properly.
- Save the Whey : Reserve the leftover whey for smoothies, soups, or baking—it’s packed with nutrients!
- Storage : Store the cheese in a jar with a little olive oil or cream to keep it moist.
Serving Suggestions
- Romantic Touch : Serve with fresh berries, edible flowers, or a drizzle of honey for elegance.
- Brunch Staple : Pair with coffee, tea, or fresh fruit for a complete meal.
- Party Platter : Serve alongside crackers, bread, olives, and cured meats for variety.
Final Thoughts
This Homemade Cheese with Milk and Vinegar is a celebration of simplicity, flavor, and creativity, offering a dish that feels luxurious yet approachable. With its customizable options, endless charm, and ease of preparation, it’s a recipe that’s sure to impress whether you’re cooking for a special occasion, a casual snack, or simply craving something satisfying.
Your Turn! Have you ever made homemade cheese or experimented with simple pantry recipes? Share your favorite variations or serving ideas below.